- Introduction
- Create a (Group Number) property
- Steps to assign a number to each group
- Displaying additional columns in the Contacts list
- Using Excel to assign a number to each group
Introduction
The maximum number of messages that a business can initiate and send to customers within a 24-hour period is 250 conversations per WhatsApp number.
For example, if you have a large customer base (such as 10,000 contacts) and want to send a message to all of them, you will only be able to send the message to 250 contacts on the first day. On the following day, you can send it to another 250 contacts, and so on.
However, relying on random sending in this way may result in some contacts receiving the same message more than once, while other contacts may not receive the message at all.
{info} For verified accounts, you can increase the messaging limit by following the steps outlined in the Messaging Limits Document.
For new, unverified accounts, this document will show you how to divide your contacts into groups of 250 unique contacts, then assign a separate number to each group. This approach allows you to send messages (templates) to all your contacts in an organized manner, without duplication or randomness.
First: Create a (Group Number) property
-
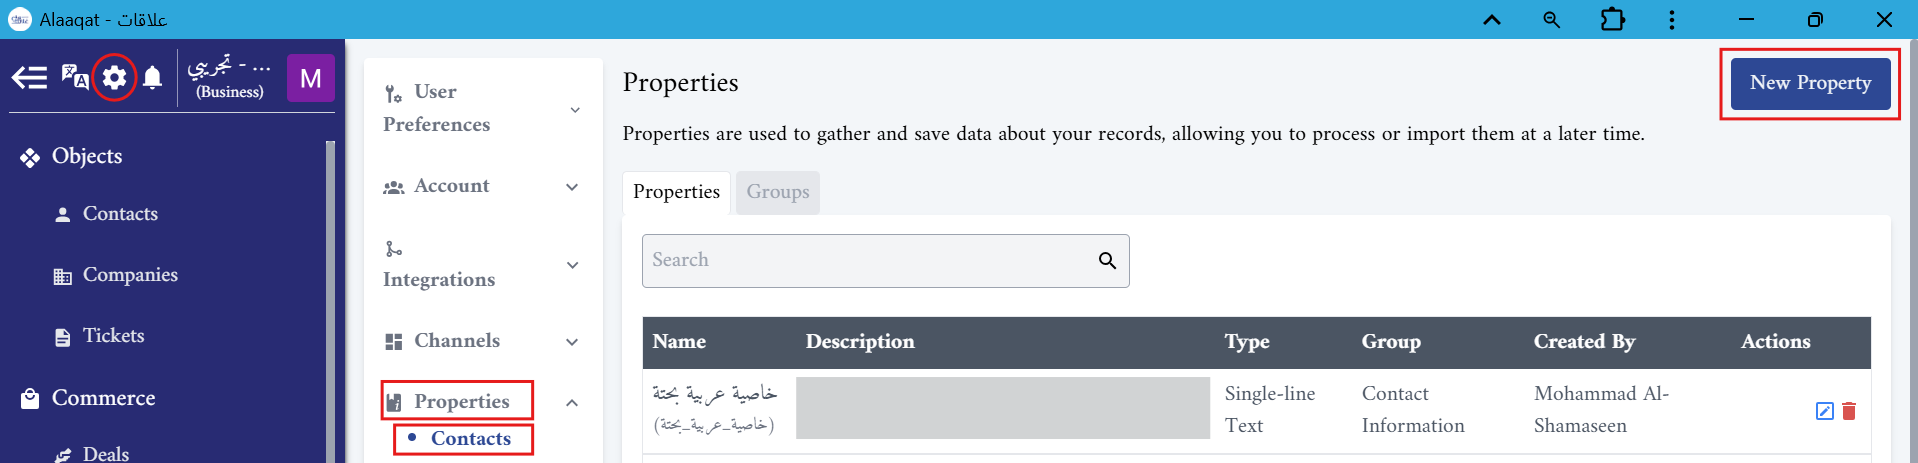
Go to Settings > Properties > Contacts > New property.
-
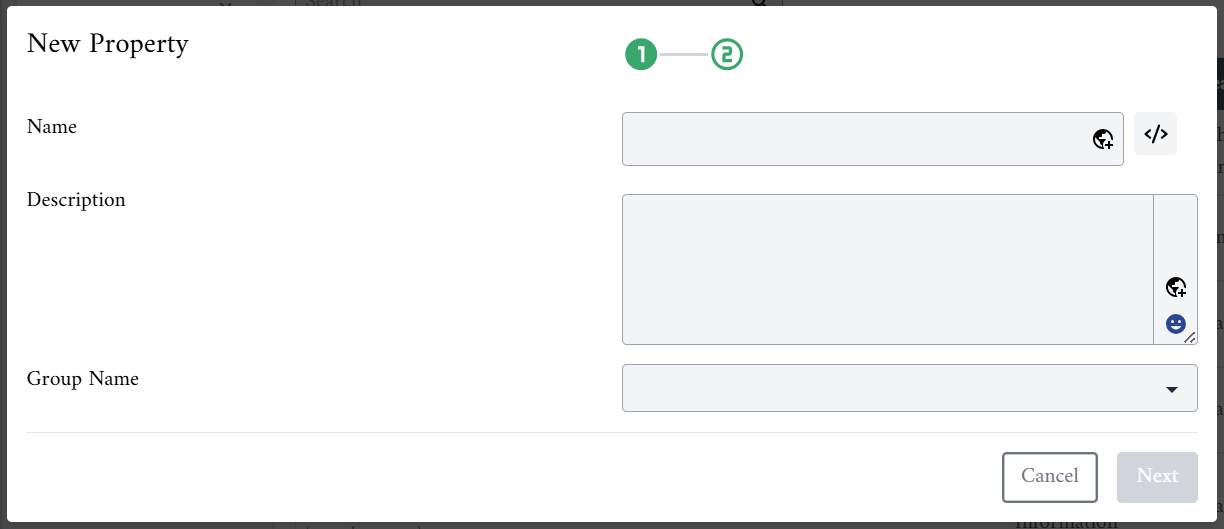
Fill in the required fields, then click Next:
- Name: Enter the property name, for example “Group Number”.
- Description: Add a description related to the purpose of the property.
- Group Name: Select the group under which this property should be categorized, for example “Contact Information”.
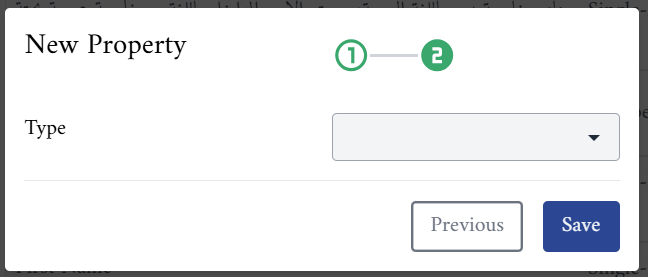
- In the Type field: Select the property type, for example, "Number", then click Save.
-
The property will be created and listed in the properties list:

-
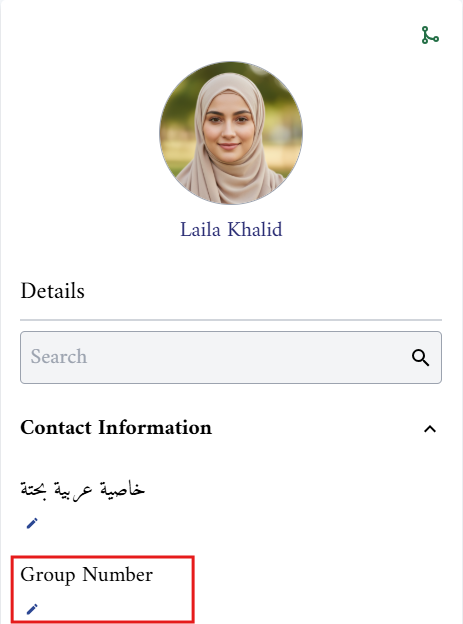
In the Contacts list, select any contact at random. You will find the property listed under the group you selected. In this example, it appears under the “Contact Information” group.
Second: Steps to assign a number to each group
-
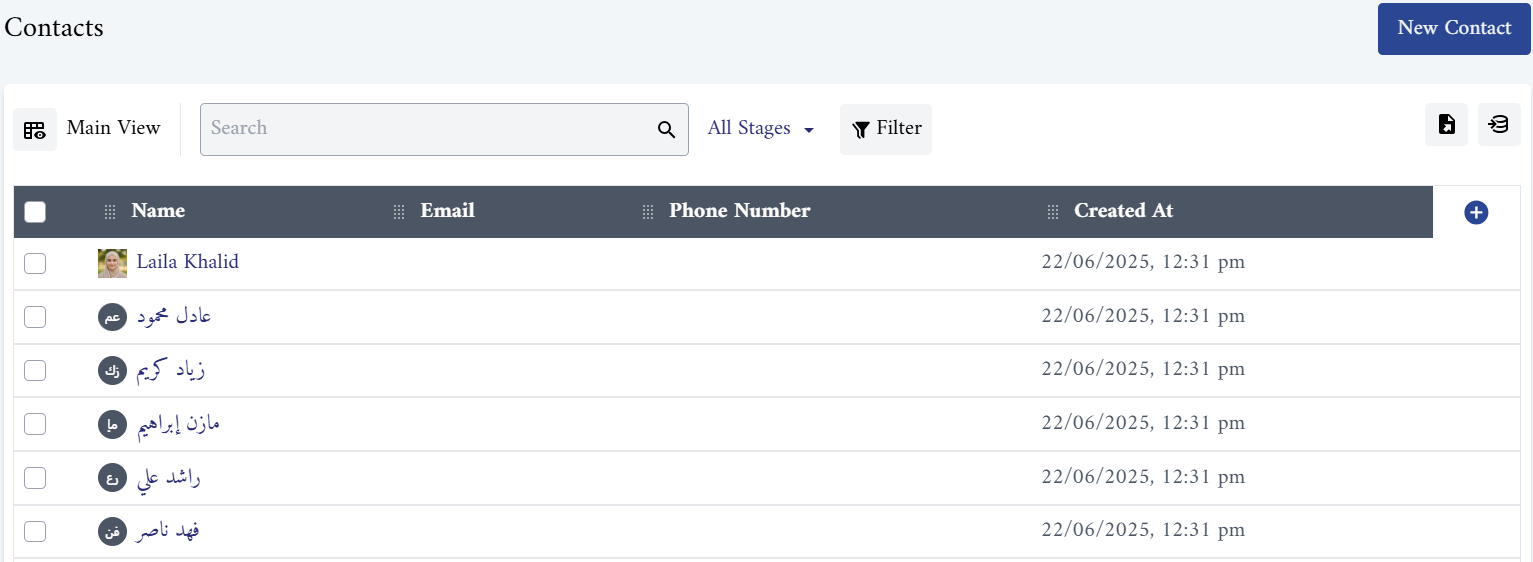
Go to the Contacts list.
-
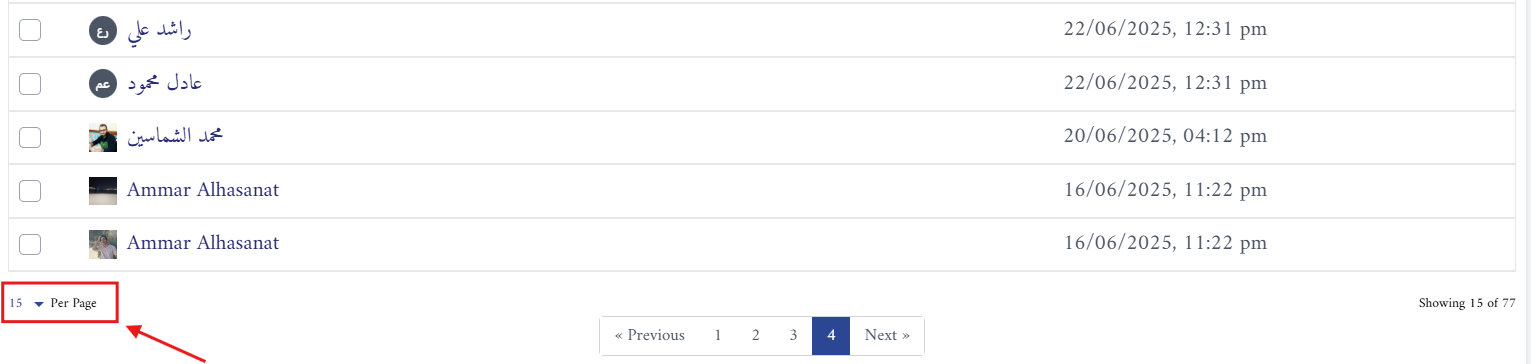
Scroll to the bottom of the page, then click the arrow to display items as shown in the image below.
-
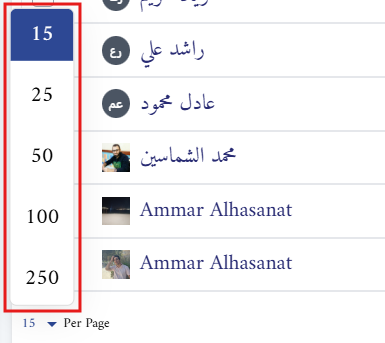
Select the number "250" from the list to display 250 contacts on each page.
-
Click the checkbox at the top to select all contacts.

-
Click Update.

-
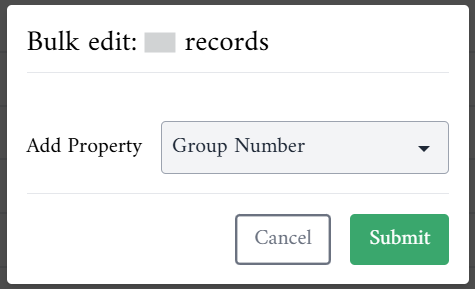
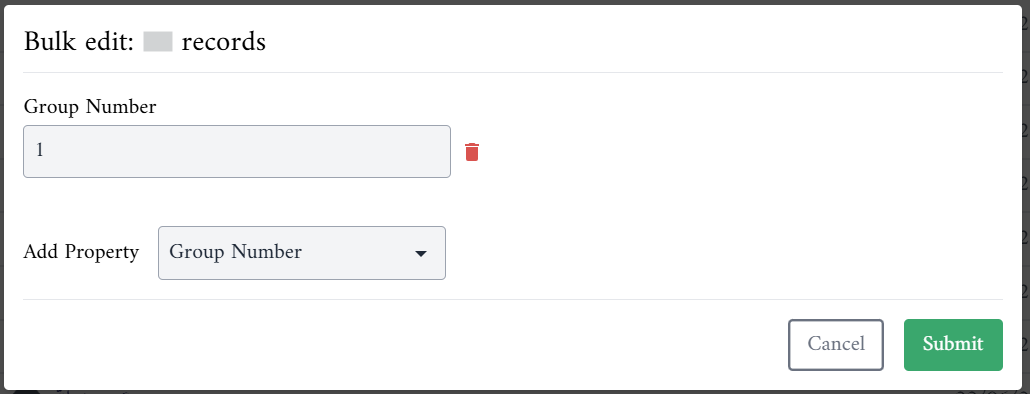
In the Add Property field, select “Group Number”, then click Submit.
-
Enter the required group number in the Group Number field (for example, “1”), then click Submit.
-
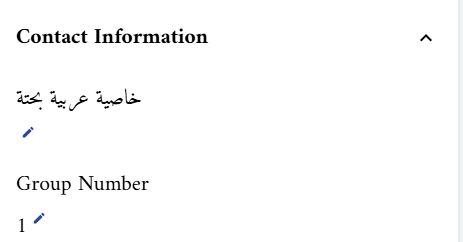
Select any contact and verify that the Group Number has been updated to the value you entered.
-
Repeat these steps for the required number of groups.
Displaying additional columns in the Contacts list:
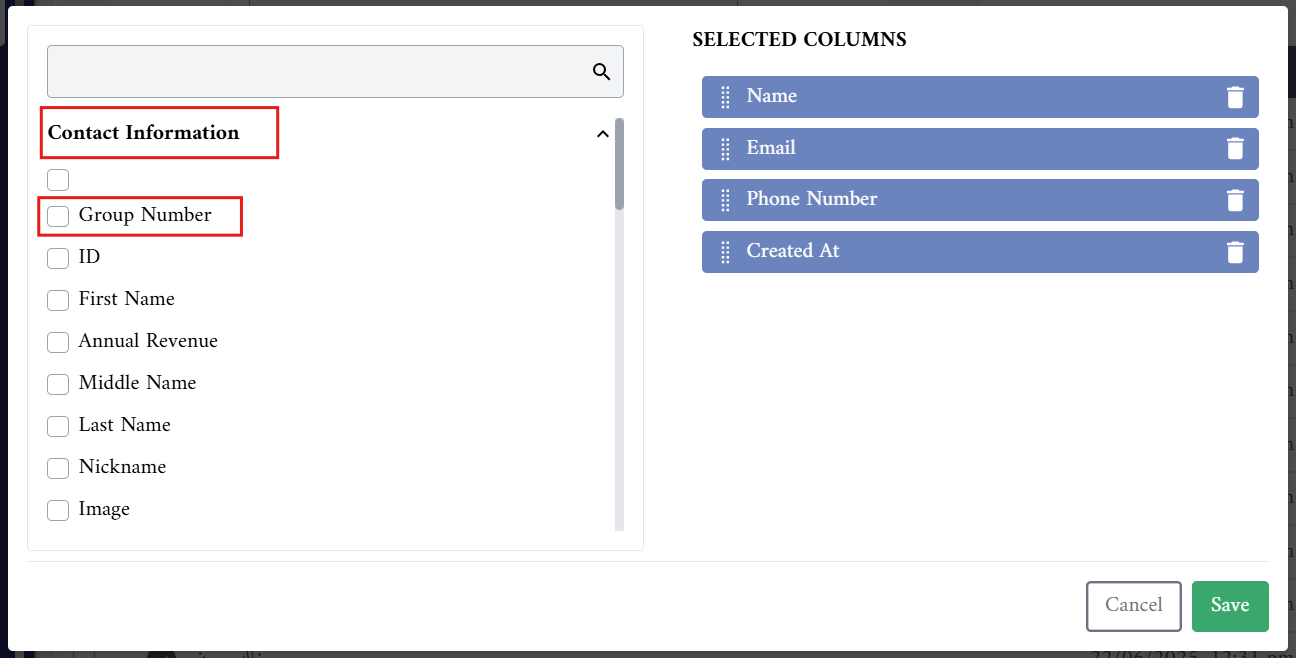
You can display additional columns in the Contacts list. For example, to add the Group Number column, follow these steps:
-
Click the (+) icon at the top.

-
Select Group Number from “Contact Information.”
-
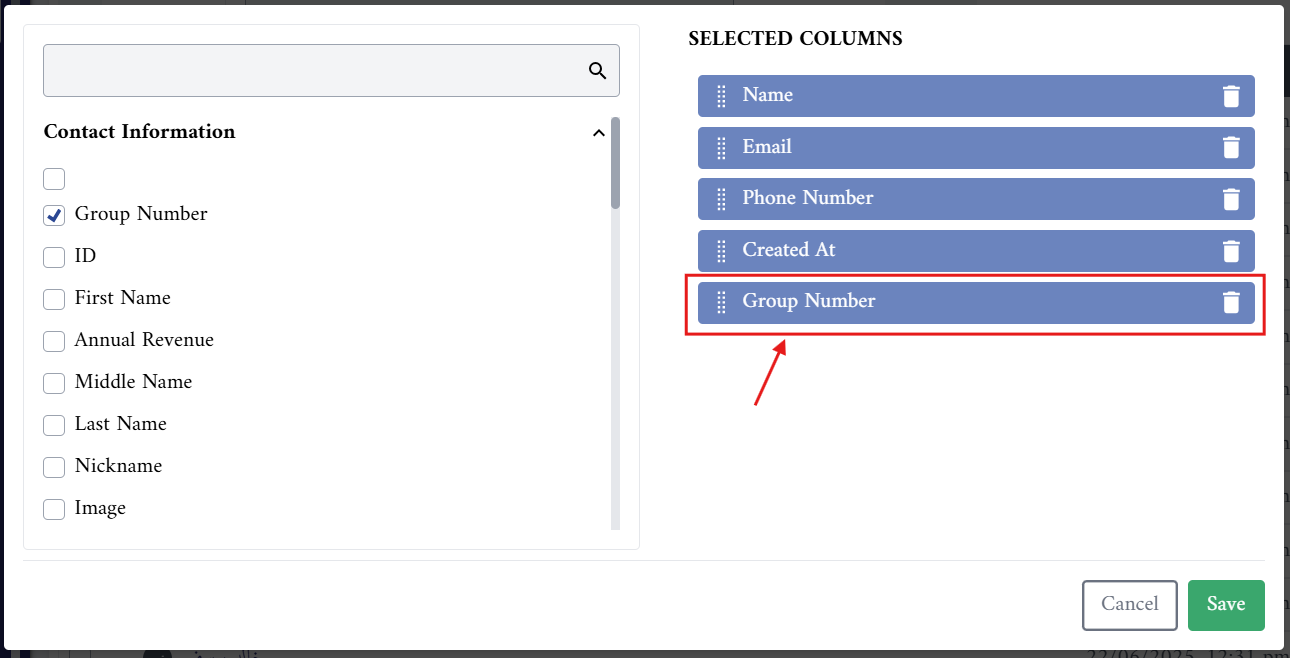
The option will appear in the list of selected columns.
-
Click Save.
-
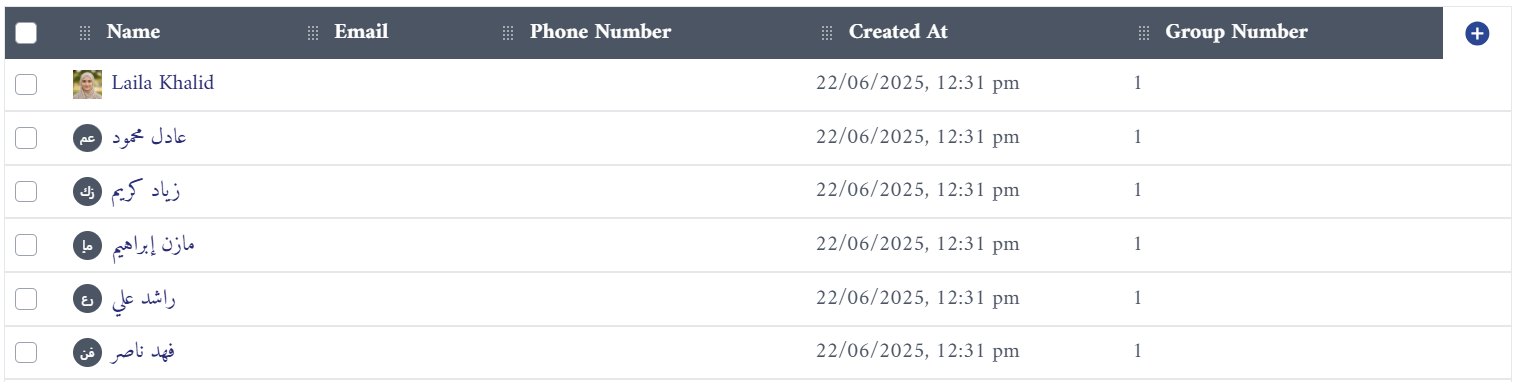
The Group Number column will appear, as shown in the image below:
{info} You can display any other column using the same method.
Using Excel to assign a number to each group
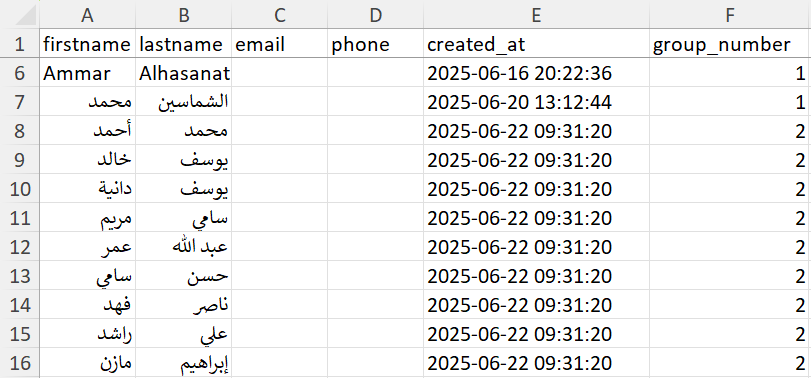
You can use this method to assign group numbers to contacts when managing a large contact list. The process involves exporting contacts from your account in "Alaaqat" to an Excel file, editing the file to add group numbers, and then re-importing it back into your account after completing the updates.
{info} Make sure to add (the Group Number column and the ID column) to the Contacts list before exporting the file to Excel. You can do this by following the steps for displaying additional columns in the Contacts list.
-
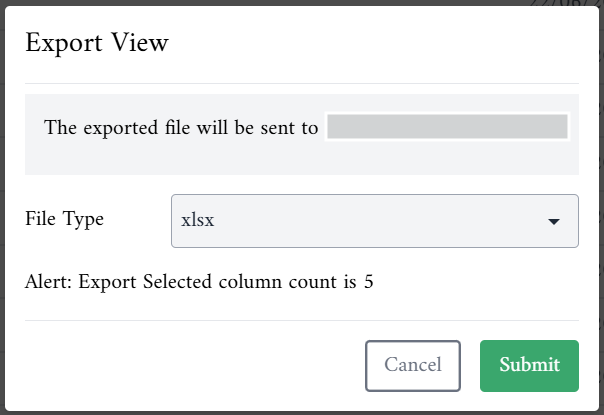
Click the Export icon.

-
Select the xlsx file type.
-
Click Save.
-
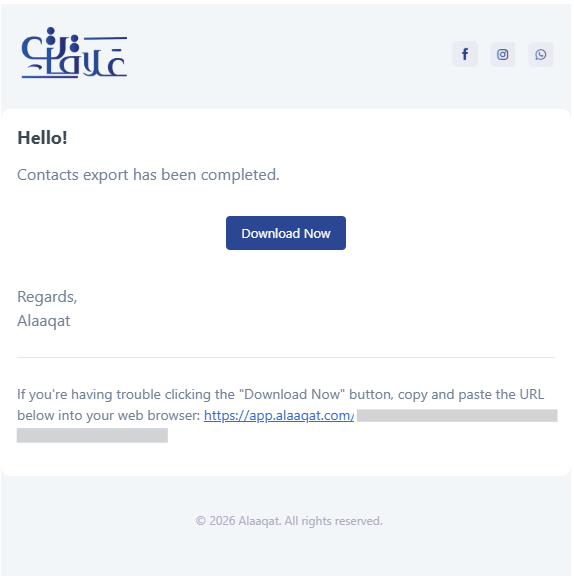
This step will export the contacts to an Excel file. You will receive an email in your account’s inbox containing a link to download the file.
-
Click Download now.
-
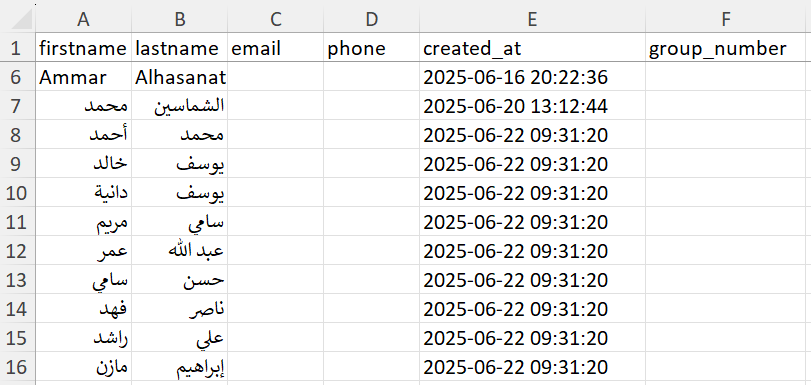
Open the Excel file you saved.
-
Fill in the Group Number column with the required value.
-
After editing and saving the file, you will import it.
-
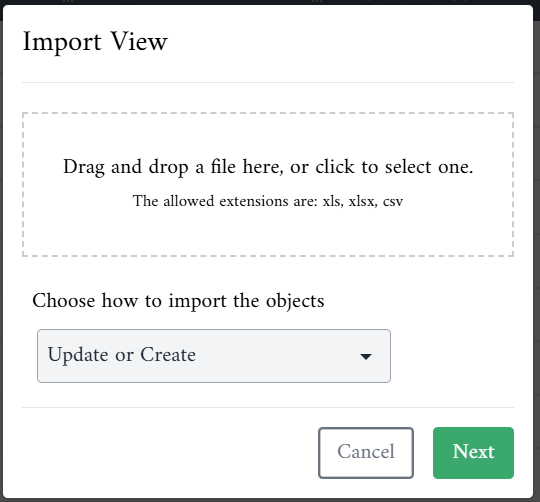
Click Import.

-
Select the file you want to import.
-
Choose "Update or Create" to update the contacts based on your changes, then click Next.
-
Map the fields (match each column with its corresponding property).
-
Select the unique key for each record, either the ID or email address, to ensure the fields are matched correctly.
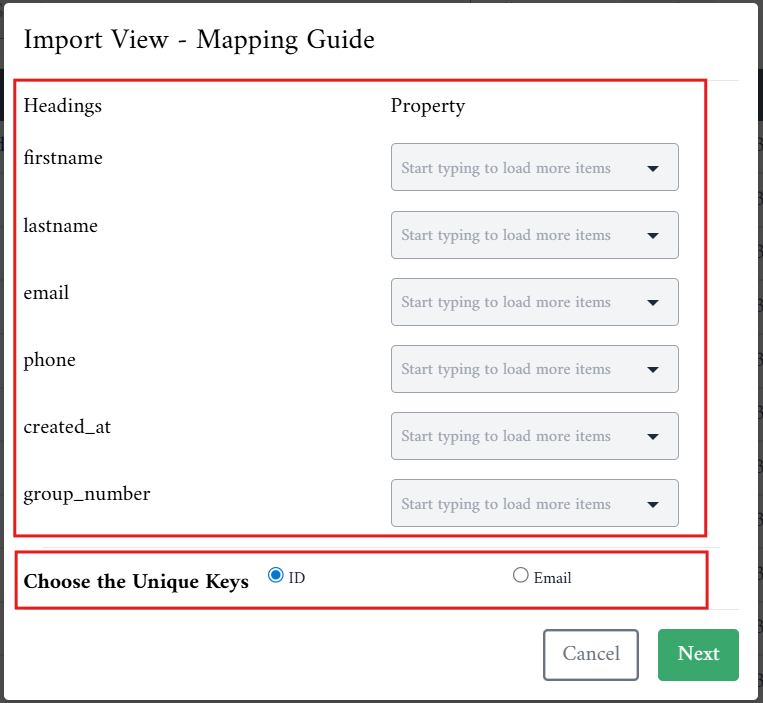
{info} If you choose the ID as the unique key, the ID field must be included from the beginning during the export and import process. If you choose the email address instead, you must ensure that the email field is filled for all your contacts.